In October 2008 I got an email from the United States by a certain John asking me if I make my mosaics also on commission. He had seen some of them myspace(!!!) and flickr and he liked them.
It is not uncommon for a request so I answered in the affirmative.
After a few email me John anticipates that the project/mosaic will be exhibited in the lobby of the building where he works. The mosaic will have to be made with the photographs that he would provide me not a collection i also own. He asked to his colleagues an image that represent something important for their life.
After another few emails I discovered to my surprise that:
1) the mosaic must be printet 3 meters by 3 meters (at that time i never create a mosaic as big as that!!)
2) the builing where the mosaic would be exposed is actually a skyscraper in downtown Chicago (wow i live in little town in italy and the tallest building i used to is the church's bell tower)!!
3) the company for which he works is one of the most important (at the global level) agencies in the world: the Leo Burnett !
4) co-workers of John are more than a thousand !
All these informations let me settle in my brain immediately sparked a sense of inadequacy in relation to the project. Making mosaic as hobby is not the same thing to accomplish for a client so noble.
After a couple of conversations with my closest friends (thank you for the support) who gave me the charge I started working on the mosaic.
Here, for the first time, i can tell you the creative process!
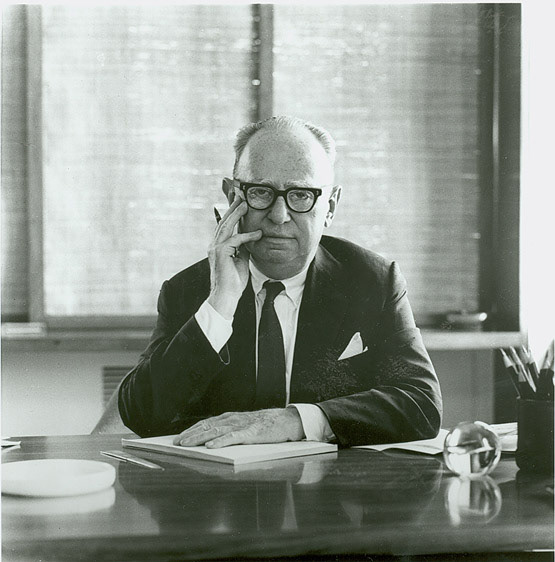
1) the base image
Every photomosaic need one!!! So the most iconic mr. Burnett's image is this one i think coming from 50s / 60s.
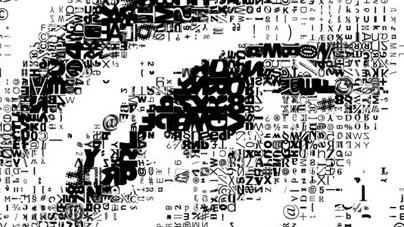
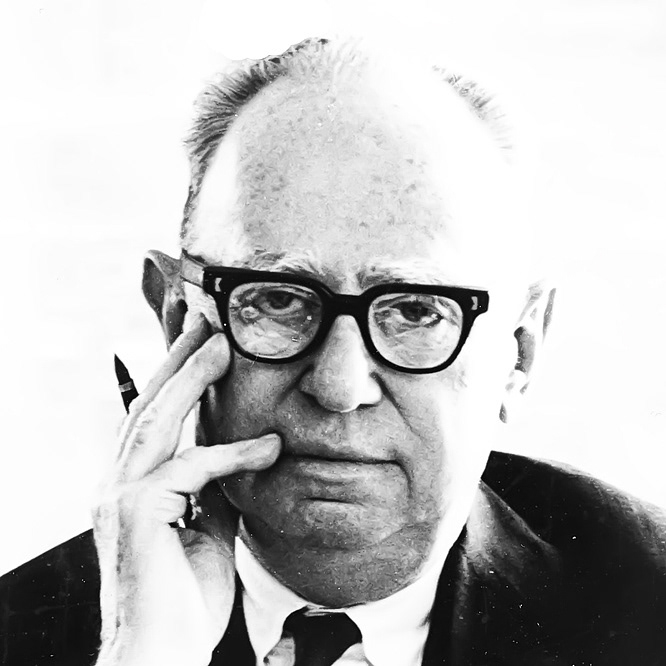
2) retouching the base image
For a good photomosaic the base image must be very contrast so i retouched the image to obtain this one. This is focused on mr. Burnett look and his famous pen / pencil
For a good photomosaic the base image must be very contrast so i retouched the image to obtain this one. This is focused on mr. Burnett look and his famous pen / pencil
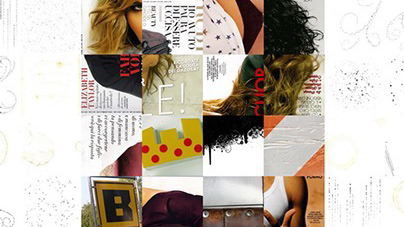
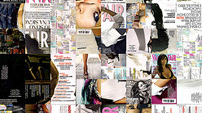
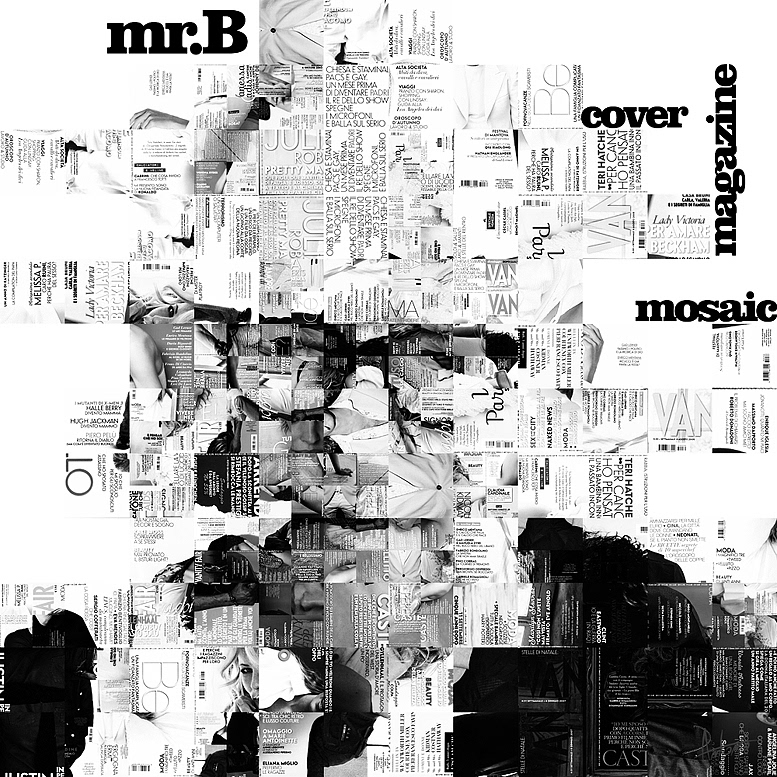
3) test mosaic
While John was busy collection photos from his coworkers, i made a test mosaic using my vanity fair cover collection. I use to scan VF a make in into little pieces for my mosaic. As you can see in the test below the grid is too large (I like mosaic with few tiles inside). The test just reveal that the base image was good enoguht for the next step.
While John was busy collection photos from his coworkers, i made a test mosaic using my vanity fair cover collection. I use to scan VF a make in into little pieces for my mosaic. As you can see in the test below the grid is too large (I like mosaic with few tiles inside). The test just reveal that the base image was good enoguht for the next step.
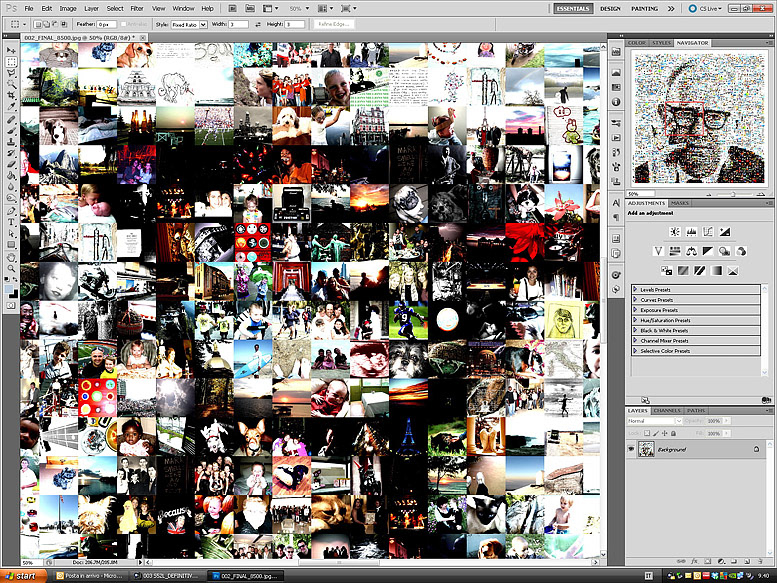
4) The tiles
Finally i receviced 871 tiles and so i keep on working on the mosaic. And i keep on assembling them. The base image was in black and white so the colored tiles i received don't get well together. Her is the orinal demos i send to John and my notes about the evolution of the project.
PS: i can't correct the image below but when you see "elaborated" read "edited or refined". Thanks to my USA friend Marq for this correction 8)

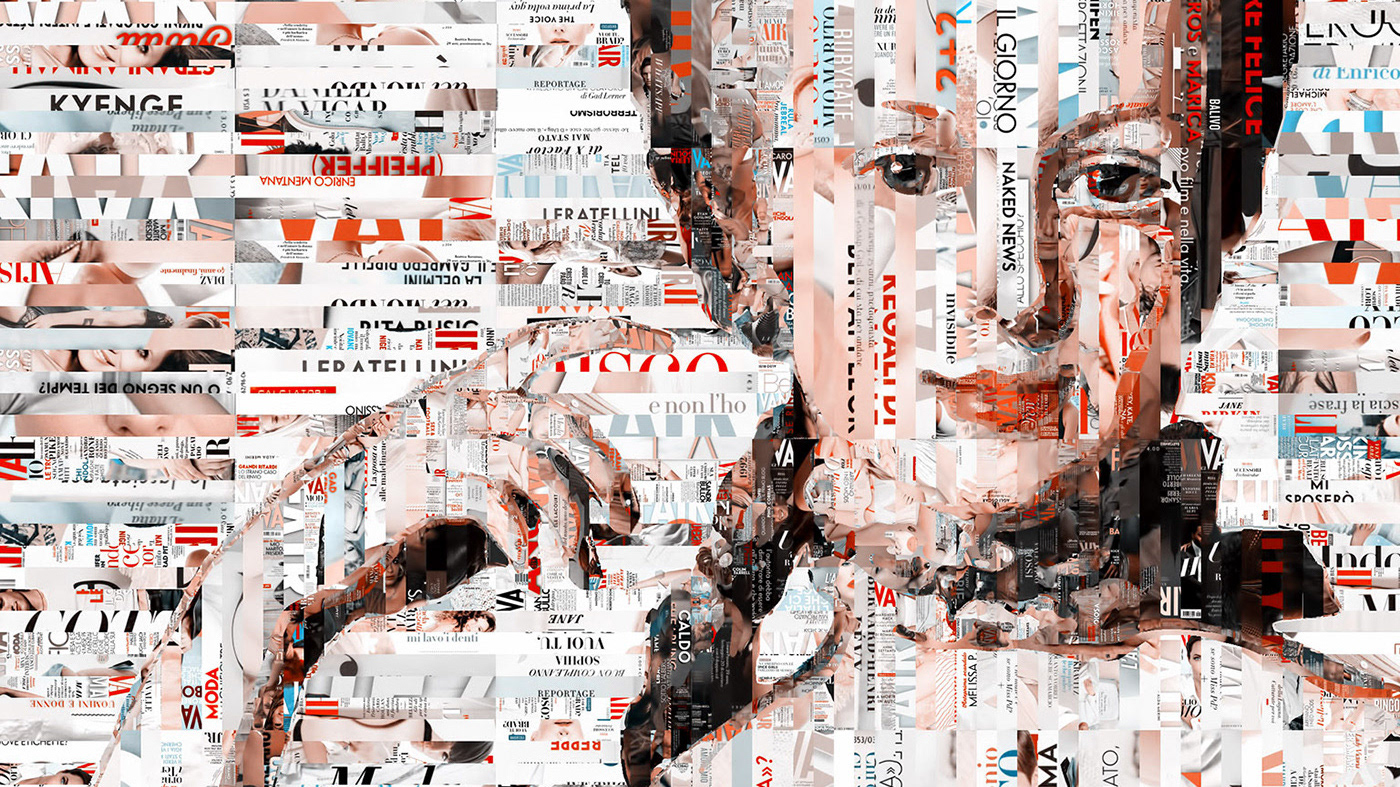
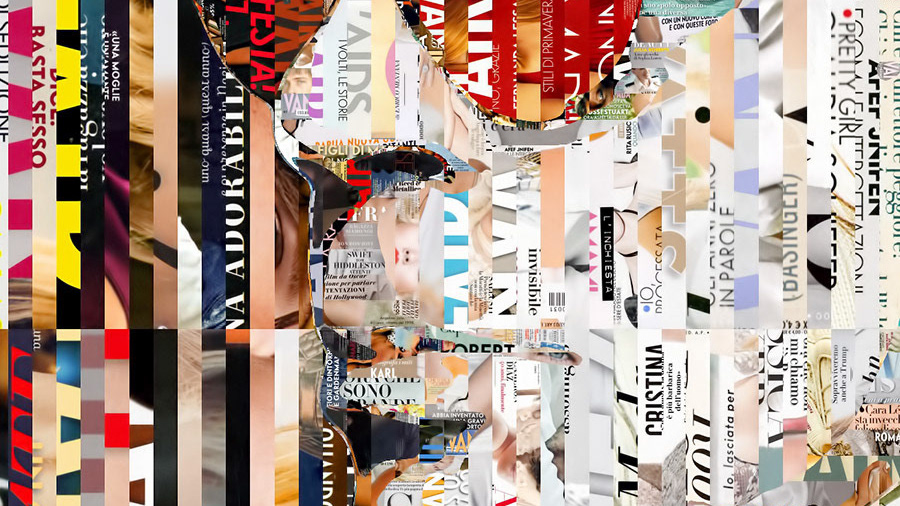
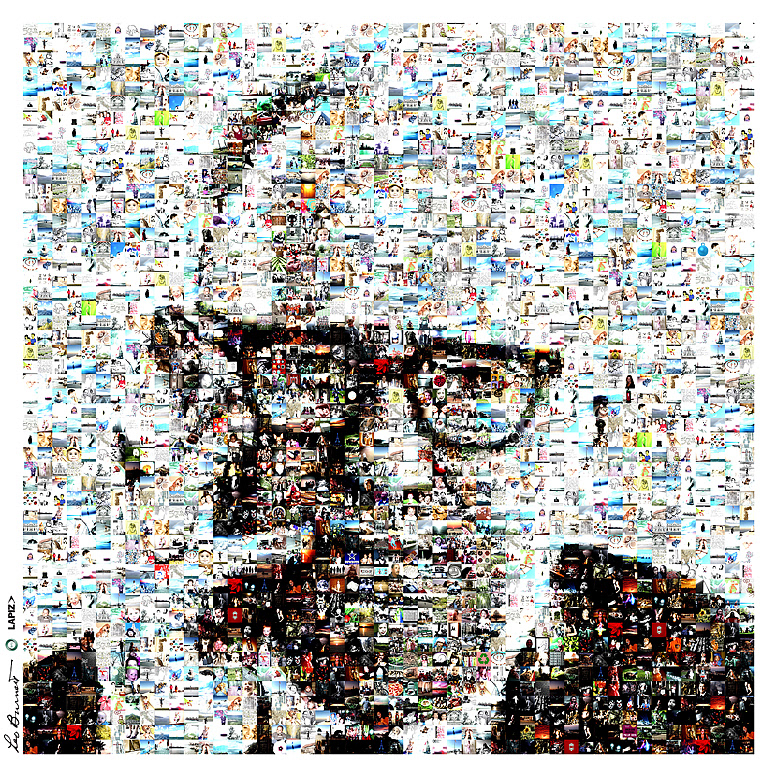
5) The final mosaic
The client told me some interesting things about the work:
1) the mosaic must have a regular grid. All the images must be in same size
2) the tiles must be retain a little colors. So i processed them via different photoshop action to obtain a less colored one.
Finally the mosaic has these numbers:
872 original images
2500 pieces on a grid 50 x 50
256 megapixel (yeah megapixels) the final image
170 Megabytes of files
2500 pieces on a grid 50 x 50
256 megapixel (yeah megapixels) the final image
170 Megabytes of files
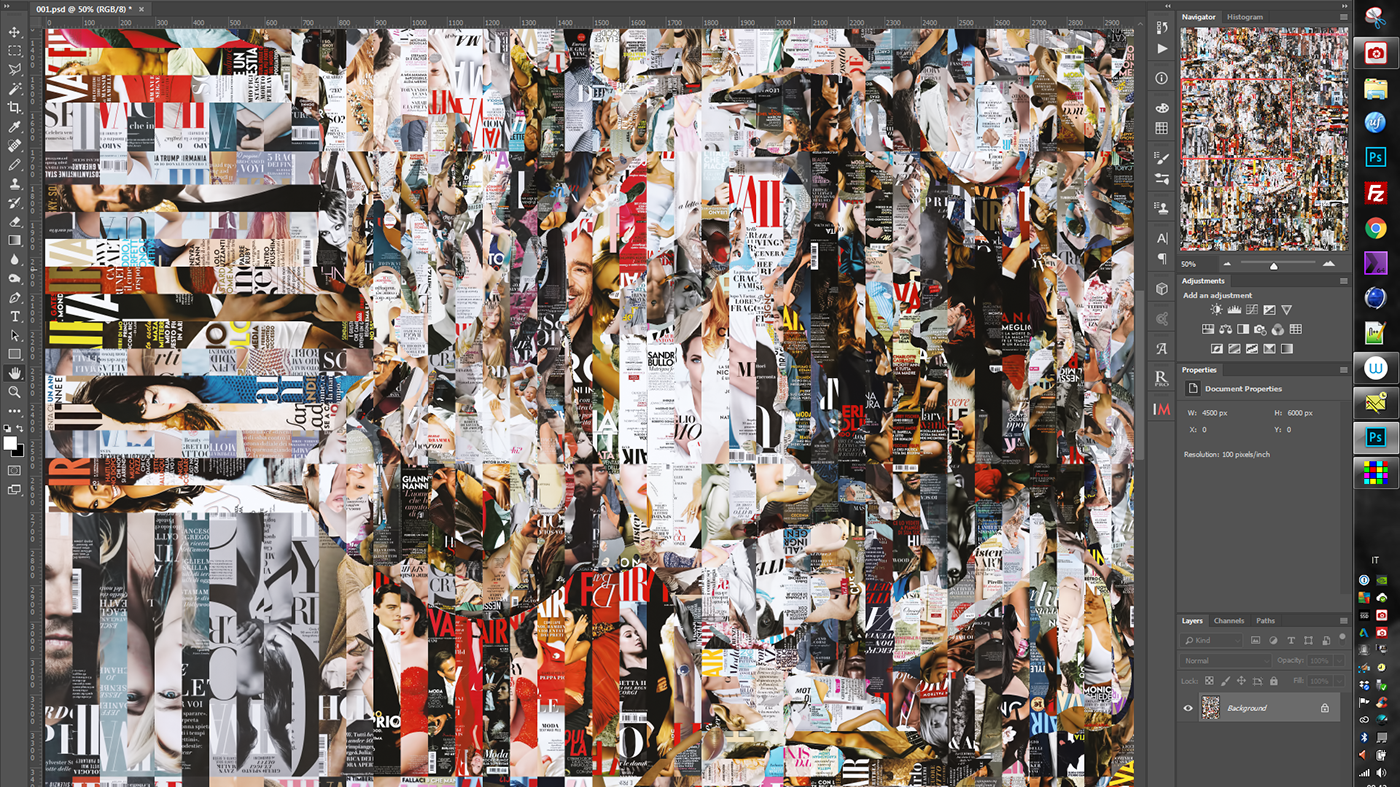
6) Details
The beauty about photomosaic is you can watch them in two ways:
1) stay away to reveal the hidden subject
2) stay close to read every single tiles (the subject disappear)
This magic is so powerful that even in the expos i got in italy i see people going close and far from a print just to enjoy this effect.
Below some details.


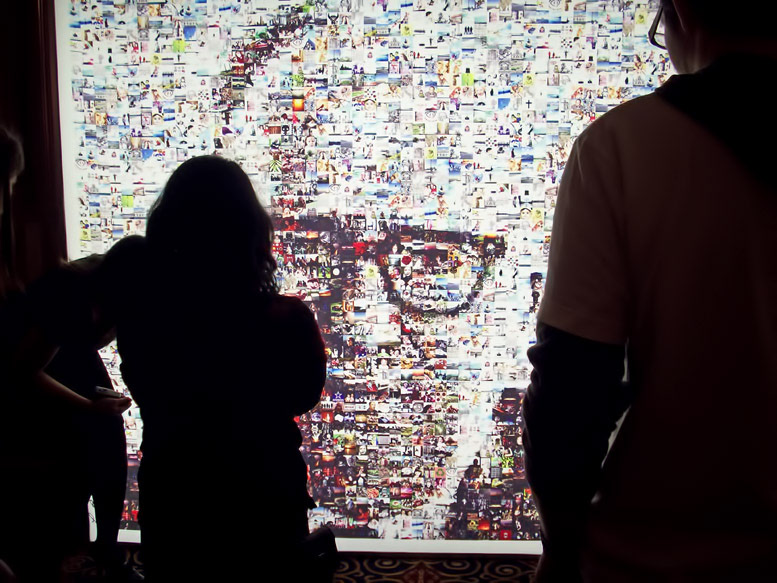
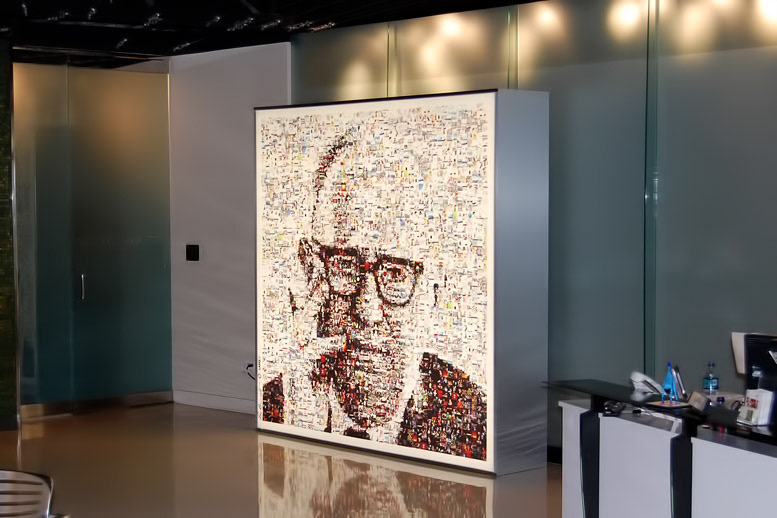
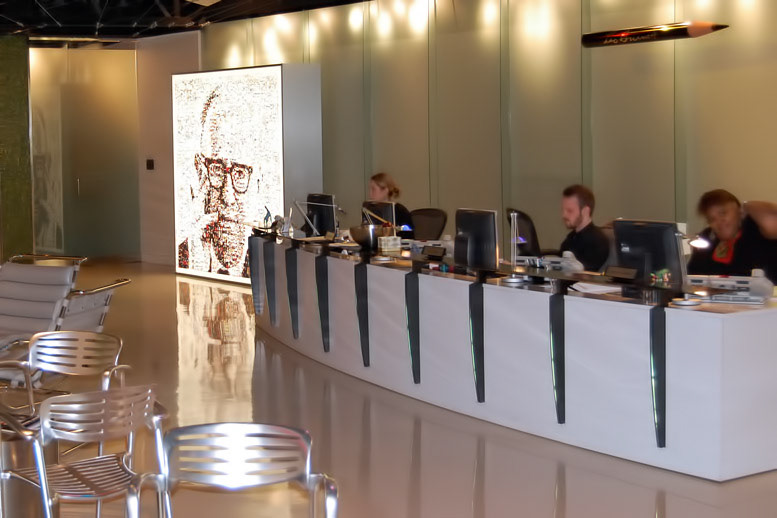
7) into real life
And these are some shots recevied from Chicago about the retro-illuminated mosaic during the Christmas eve 2008 and the final location in the entrance of the offices!
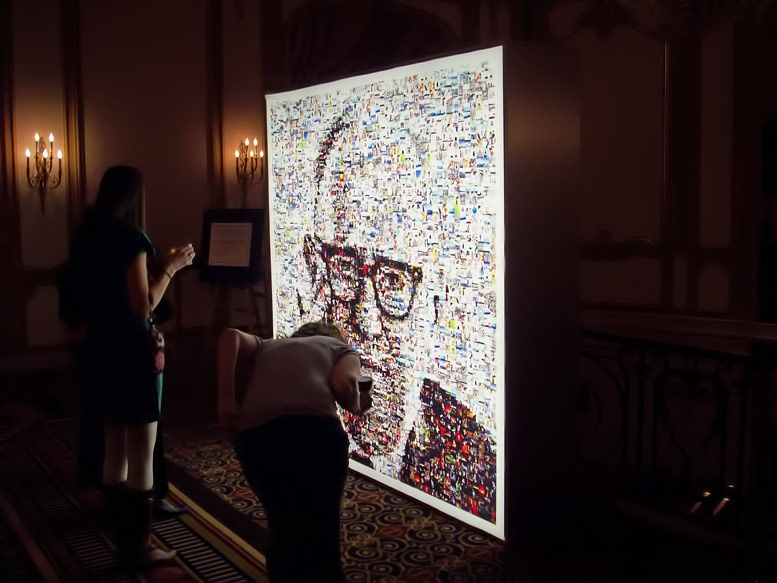
Finally (again even after 5 years) a big thank you to John for believing in my abilities and the Leo Burnett who was persuaded by John!I am very honored to have worked with you.
Thank you.
Antonio
This mosaic is dedicated to my father passed away the morning of 6 December 2008 and never saw the images abou the real mosaic.